Yearly Planbook Link Update (For Teachers)

Within Planbook
1. Click User Settings -> Sharing Options.
2. Click the "View - Students" heading and create your "View Key". This is just a simple password that will activate sharing options. This can be anything you want. 3. After entering your key, select the View Items you wish to make available through the link. These can include events, grades, or even specific sections of your lessons!4. From there, select the Classes you would like students to be able to see. If you need different groups of students to see different classes, make sure to select All Classes! Your email or download will include separate links for everything you mark viewable here. 5. Choose the Date Range you would like students to be able to see. 6. Select the Default View Layout. This can be Week, Day, Month, or List View!
7. Click the "Download Links" or "Email to Me" icons in the upper-right corner of the box to have your links downloaded to your computer, or sent to your account email address. When using "Download Links", the links are year-specific, so they'll allow you to send links to the currently-selected year of your plans. Creating additional views/view links -
Click the "Add View Profile" button in the panel on the left to create an additional view profile. This allows you to set up an additional view link if desired and generate a specific link to that.
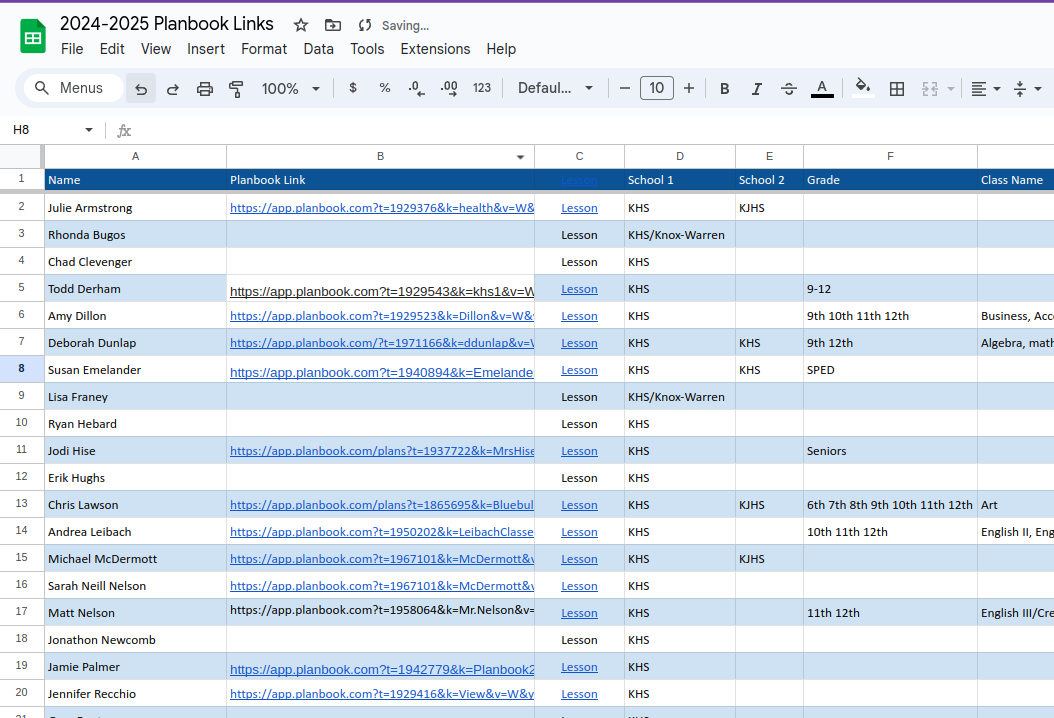
Within Google Sheets
Use the link obtained below to update your Planbook link in the google sheet below:


